
When working on crafts or gift-wrapping projects, ribbons often play a central role. However, one common challenge faced by many is dealing with frayed ribbon ends. Learning how to seal the ends of a ribbon can make a significant difference in the presentation and longevity of your work. In this guide, we will explore various methods to effectively seal ribbon ends, ensuring your projects look polished and professional.
Understanding Ribbon Materials
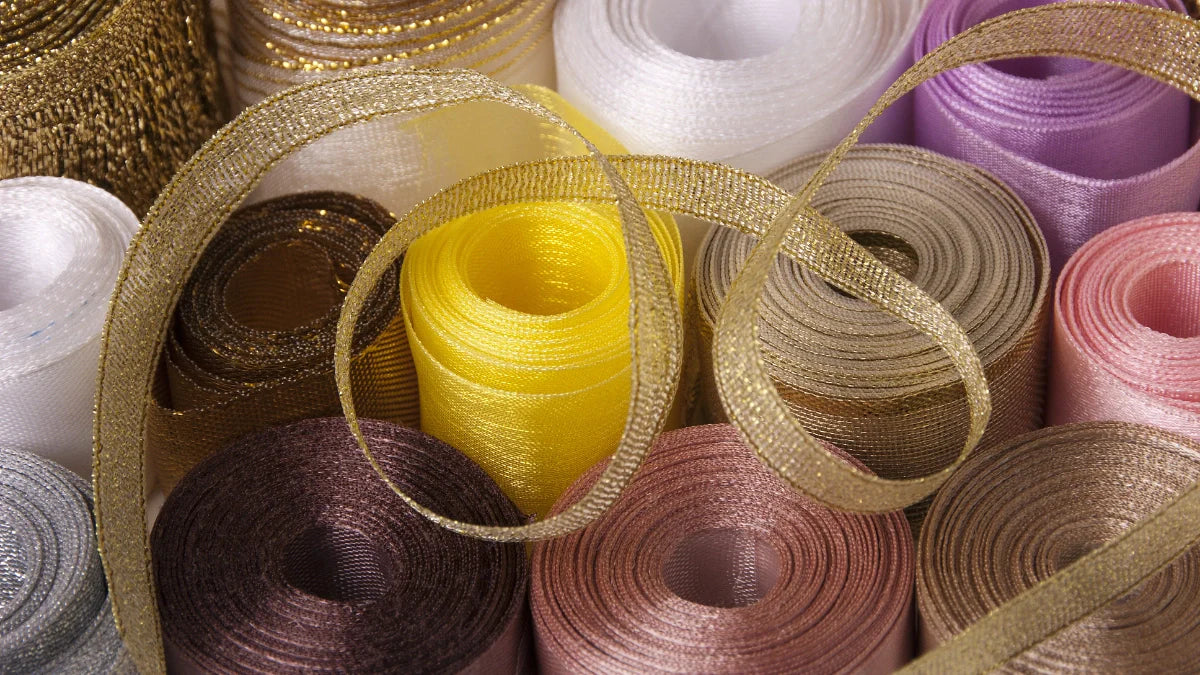
Before diving into the sealing techniques, it's important to understand the types of ribbon materials available. Ribbons can be made from a variety of fabrics, including:
- Satin: Smooth and shiny, satin ribbons are popular for their elegant appearance.
- Grosgrain: Known for its ribbed texture, grosgrain is durable and often used for bow-making.
- Organza: Sheer and lightweight, organza ribbons add a delicate touch to any project.
- Velvet: Soft and plush, velvet ribbons are perfect for adding a luxurious feel.
The type of ribbon you choose will influence the sealing method you should use.

Why Seal Ribbon Ends?
Sealing the ends of a ribbon is crucial for several reasons:
- Prevents Fraying: Unsealed ribbon ends can quickly unravel, leading to a messy appearance.
- Enhances Durability: Sealed ends ensure your ribbon maintains its integrity, even with frequent handling.
- Improves Aesthetics: A clean, sealed edge gives your project a neat and professional finish.
Methods to Seal Ribbon Ends
There are several methods available to seal the ends of a ribbon, each suited to different materials and preferences. Here, we’ll explore some of the most effective techniques.
1. Heat Sealing
What You Need:
- Lighter or candle
- Scissors
Steps:
- Cut the Ribbon: Start by cutting the ribbon to your desired length. Use sharp scissors to ensure a clean cut.
- Prepare the Flame: Light a candle or lighter.
- Seal the Edges: Hold the ribbon end close to the flame without touching it. The heat will melt the fibers, sealing the edge.
- Inspect the Edge: Ensure the entire edge is sealed. Repeat if necessary.
Best For: Synthetic ribbons like polyester or nylon, as they melt easily under heat.
2. Fray Check or Fabric Sealant
What You Need:
- Fray check or fabric sealant
- Scissors
Steps:
- Cut the Ribbon: Trim the ribbon to the desired length with sharp scissors.
- Apply Sealant: Squeeze a small amount of fray check or fabric sealant onto the ribbon’s edge.
- Allow to Dry: Let the sealant dry completely before handling the ribbon further.
Best For: Delicate fabrics like organza or velvet, where heat might cause damage.
3. Clear Nail Polish
What You Need:
- Clear nail polish
- Scissors
Steps:
- Trim the Ribbon: Cut the ribbon cleanly with scissors.
- Apply Nail Polish: Brush a thin layer of clear nail polish onto the edge of the ribbon.
- Let it Dry: Allow the nail polish to dry thoroughly before using the ribbon.
Best For: Satin or grosgrain ribbons, providing a quick and simple solution.
4. Sewing
What You Need:
- Needle and thread or a sewing machine
- Scissors
Steps:
- Cut the Ribbon: Use sharp scissors to cut the ribbon.
- Fold and Sew: Fold the edge of the ribbon over slightly and sew a small seam to secure it.
- Trim Excess: Cut any excess thread or fabric.
Best For: Ribbons used in garments or where a more secure seal is desired.
Tips for Effective Ribbon Sealing
- Test First: Always test your chosen method on a small piece of ribbon to ensure it works well with the material.
- Use Sharp Scissors: Sharp scissors provide a clean cut, which is essential for effective sealing.
- Work in a Well-Ventilated Area: Especially when using heat or chemical sealants, ensure you’re working in a space with good ventilation.
Conclusion
Sealing the ends of a ribbon is a simple yet essential step in crafting and gift wrapping. By using the right technique for your ribbon type, you can prevent fraying, enhance durability, and achieve a professional finish. Whether you choose to use heat, sealants, or sewing, these methods will help you maintain the integrity and beauty of your ribbons in all your projects.
Remember, practice makes perfect. With a little patience and experimentation, you'll find the perfect method to seal your ribbon ends every time. Happy crafting!
Share:
A Guide to the symbolic meanings of ribbons of various colors
What Is Grosgrain Ribbon? The Ultimate Guide to Its Power, Uses & Secrets